Vendor
- Introduction
- Tab
- Vendor
- Contact(User)
- Contact (user)>Interest Area
- Contact (user)>BP Access
- Location
- Bank Account
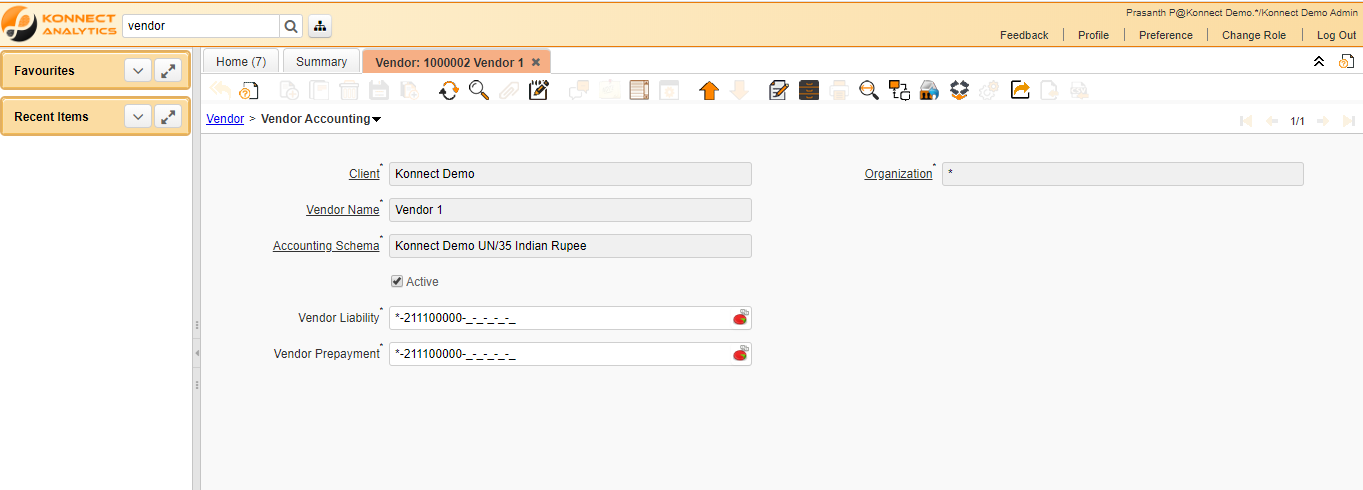
- Vendor Accounting
- Tax Information
- Document Sequence Creation
- Validations
Introduction
Introduction
Introduction
Vendor Window is used to create Vendor Name and Vendor Information Details.
Business Example
Vendor window is used to create vendor and also to capture the details of the vendor.
Tab
Vendor
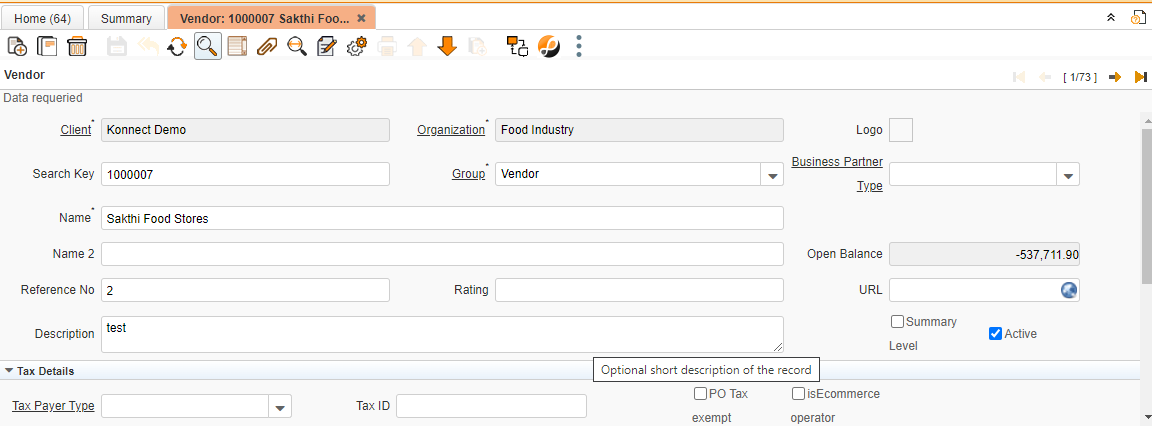

Critical Fields
- Search Key : Used to maintain the Vendor code and unique id number.(Use characters and numbers)
- Group : We can give the Vendor group name from the Business Partner group master window.(refer business partner group master window) (Do not change the Group after the transactions)
- Name : We can give the Vendor name.(Ex : Vendor 1
Critical & onetime setup fields
Non-Critical Fields
1. Reference No: To Give reference number of customer or vendor at business partner's site
2. Rating: Rating details
3. URL: Official website's URL
4. Description: To note Specifics required with documents and to describe other important information.
5. Tax payer type: To select tax payer type, It is a master data.
6. Tax ID: Tax Id details
7. Payment Rule : This is used to select the payment type.(Ex : Cash, Check , On Credit)
8. PO Payment Term : We can select payment term from the payment term master.
9. Purchase Price List : We can select the Price list type from the price list master.(Ex : Purchase INR)
10.PO Discount Schema: To apply Discount Schema to Vendor, It is a master data.
11.Order Reference: This field is for transaction reference no.
12.Language: Language Details
13.Greeting: Greetings deatils, It is a master data.
14.Order Description: To note Specifics required with documents and to describe other important information.
15.Invoice Print Format: To Select invoice print formats required. It is a master data.
16.GST Number : GST Number validate based on business partner state code.
17.Business Vendor Type : This field used to select the vendor Type
Zoom condition’s
- We can find the transactions by using this Vendor .(Ex : Requisition,Purchase Order)
Contact(User)
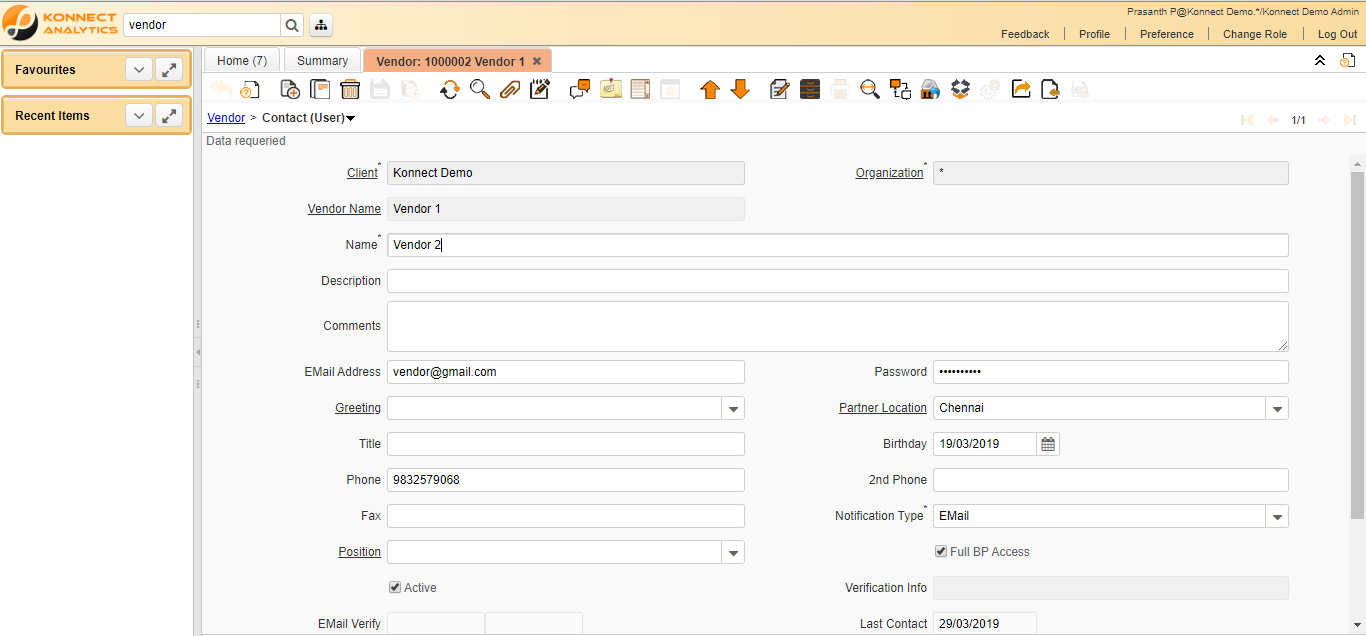
Critical Fields
- Name : We should maintain the contact user name for that vendor. (Ex : Vendor 2)
Critical & onetime setup field
This fields will Appear automatically through parent tab.
Non-Critical Fields
1. Description: To note Specifics required with documents and to describe other important information.
2. Comments: Use to note Comments/Help item Which are requiered with this document
3. Email ID: Email ID Assiged to user
4. Password: Password of assigned mail ID
5. Greeting: Greetings deatils, It is a master data.
6. Partner Location : Used to maintain the Partner location. (To create location refer location Master)
7. Title: Title before name, It is a master data.
8. Birthday: Date of birth Details
9. Phone Number: Mobile,Phone,Telephone Number details
10.Alternate Number: Alternate Mobile,Phone,Telephone Number details
11.Fax: Fax Details
12.Notification Type: Notification type such as Email+Text,Email+Notice, Etc.
13.Email User ID: It is used to maintain the Email Id for this user.(Ex : vendor@gmail.com)
14.Email User Password : This is used to maintain the Password for the mail ID.
15.Supervisor : This field is used to maintain the supervisor of the particular Employee.(This name is also created in Employee window)
16.Default mail template: Default mail templete for emails
Zoom condition’s
- We can check the transactions by using this contact user.(Ex : Purchase Order,Material Receipt,Invoices,.)
Validation
- Save : Used to Save the Record.
- Delete : Used To Delete the Saved Records.
Contact (user)>Interest Area

Critical Fields
1. Interest Area: This field is used to select interest area details with product. It is a master data. (user can refer Interest area master).
2. Active: To maintain active or in-active status.
3.Subscribe date: Date of subscription.
4.Opt-out Date
Contact (user)>BP Access
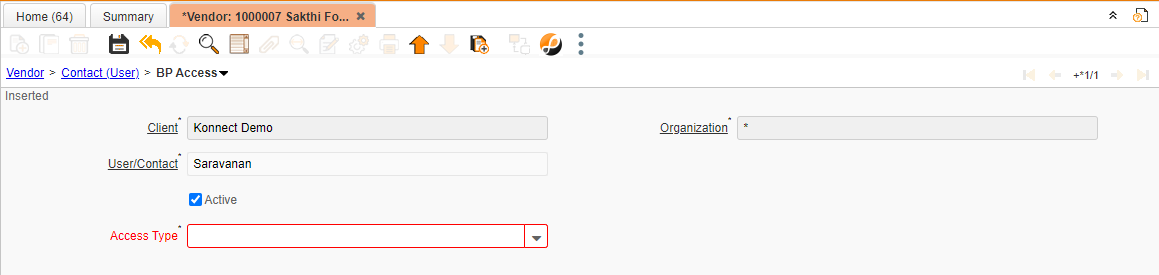
Critical Fields
1. Access Type: This filed is used to select access type for example Assets, Download, Business Document, Requests, Etc.
Location
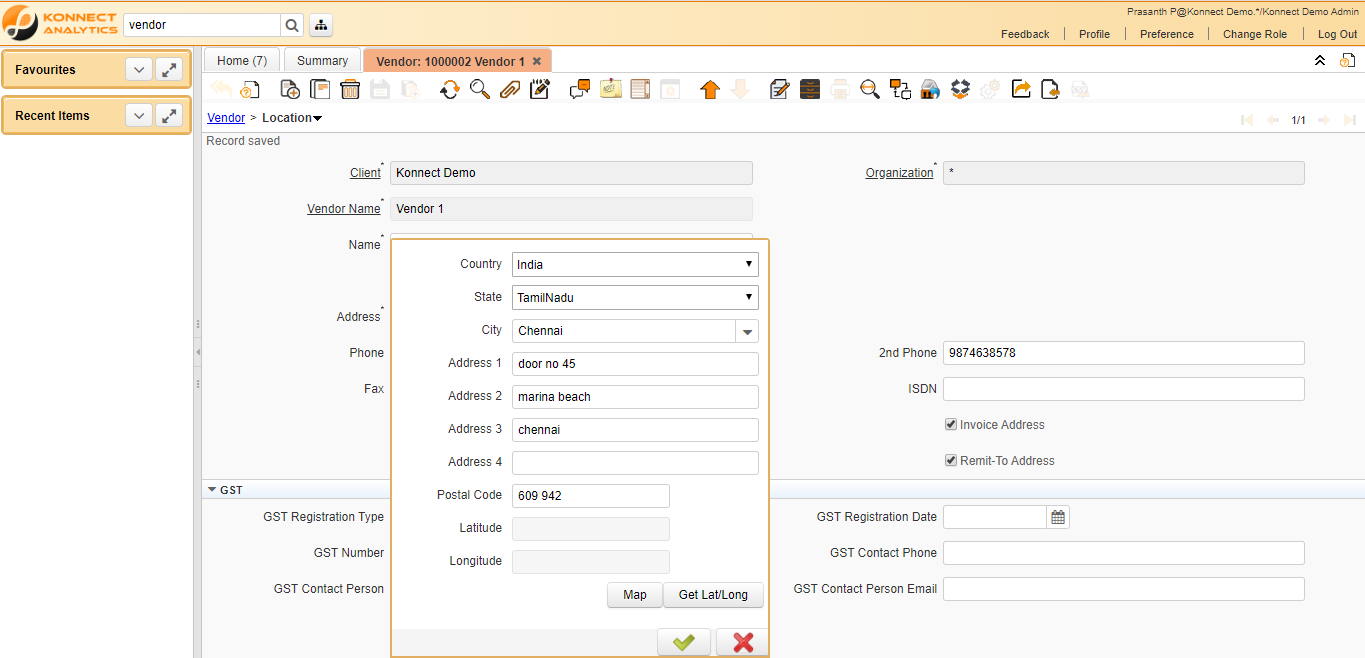
Critical Fields
- Name : This Field is used maintain the location Name.(Ex : Location 1)
Critical & onetime setup fields
Non-Critical Fields
- Country : We can select the country name from the list.(Ex : India)
- State : We can select the state name from the list .(Ex : Tamil Nadu)
- City : We can select the city name from the list.(Ex : Chennai)
- Address Fields : Used to maintain the address of the location.
- Postal Code : Used to give postal number.
- Invoice Address Check Box : If we select the check box this location is used as an invoice location.
- Ship Address Check Box : If we select the check box this location is used as a shipping location.
Zoom condition’s
- We can zoom and check the transactions by using this partner locations.(Ex : Invoice,..)
Validation
- Save : Used to save the record.
- Delete : Used to delete the existing record .
Bank Account

Critical Fields
- Bank : We should select the bank name from the bank master.(Ex : State Bank)
- Account Name : We should mention the Account Name .
Critical & onetime setup fields
Non-Critical Fields
- User/Contact : We select the user contact name from the contact user tab.(Ex : Vendor 2 )
- Account No : Used to maintain the Bank Account Number.
- Bank Account Type : Used to select the Account type like Card,Cash,Checking,Current Account,Fixed Deposit ,OD,Recurring Deposit Account,Salary Account, Savings.
- Account Usage : Used to maintain the usage like Direct Debit,Direct Deposit,Both,None.
Zoom condition’s
Validation
Vendor Accounting
Tax Information
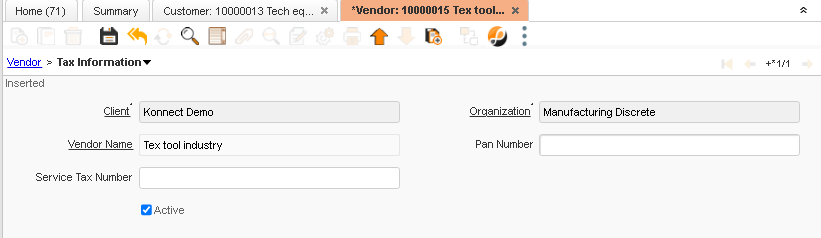
Critical Fields
1. Pan Number: We can give the Pan Number
2. Service Tax Number: We can give the Service Tax Number
Critical & onetime setup fields
1. Organization: This fields will Appear automatically through parent tab.
2. Vendor Name: This fields will Appear automatically through parent tab.
Non-Critical Fields
Zoom condition’s
Validation
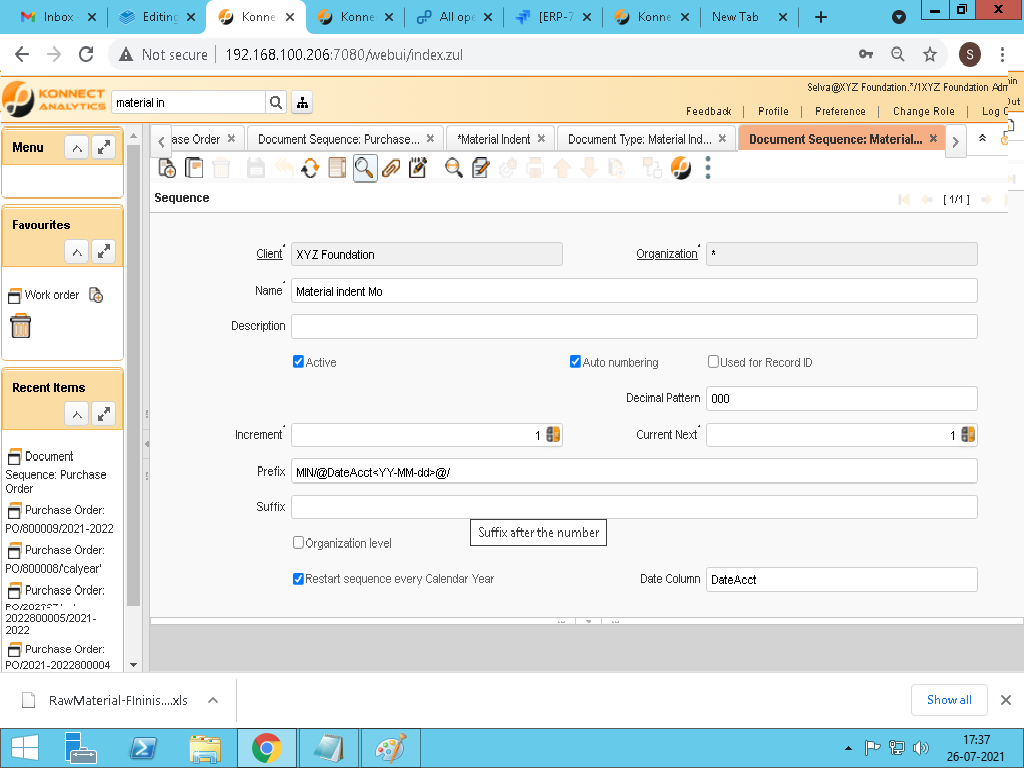
Document Sequence Creation
1.Select the Organization
2.Enter Sequence Name
3.If you Generating the auto numbering enabled the Auto Numbering
4.Enter the Decimal Pattern (How many digit Maintain in a Document No)
5.Current Next-When the start the Document No
6.Prefix-Prefix before the Sequence No (Ex : PO/0056/2021-2022,PO is a prefix)
7.Suffix-Suffix after the Number (Ex : PO/0056/2021-2022,2021-2022 is a Suffix),
a)if you want Suffix Automatic year is need ,you enter the suffix or prefix - <calyear>
b)If you want a Date with Year ,you enter the suffix or prefix -@DateAcct<YY-MM-dd>@
8.Mandatory date column field, this column based on the sequence create window Account date column id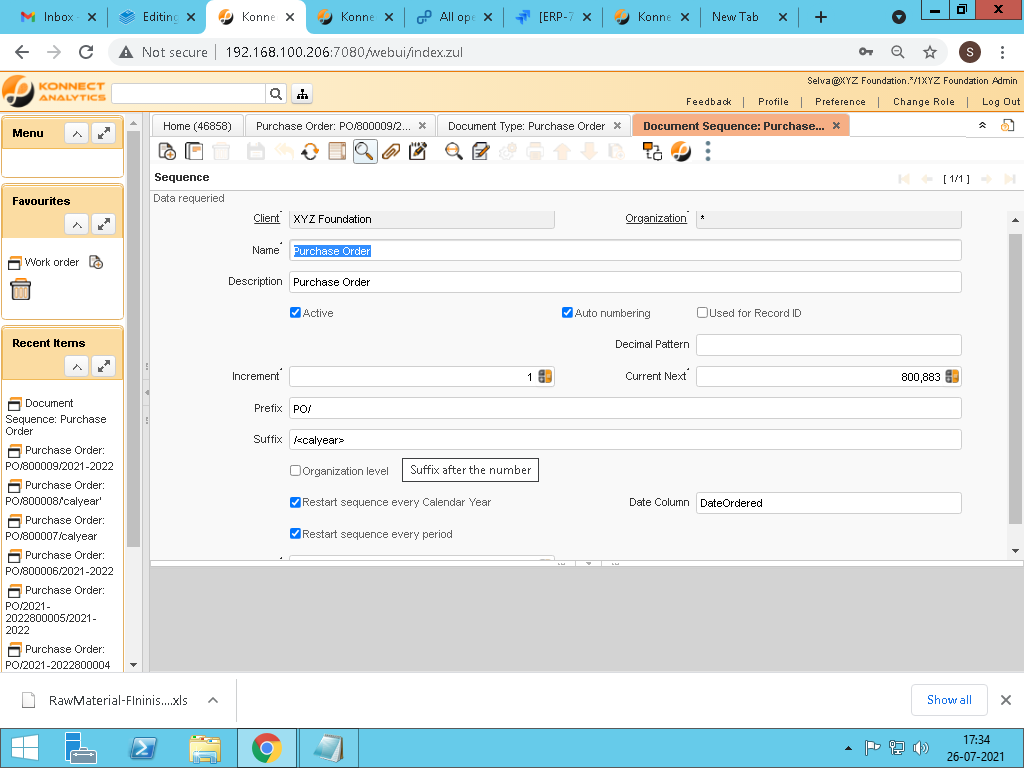
Validations
Validations
Save
1. Used to save the records
Delete
1. Used to delete the records.